
The Magic of 3D Printing with Bambu Lab’s CyberBrick
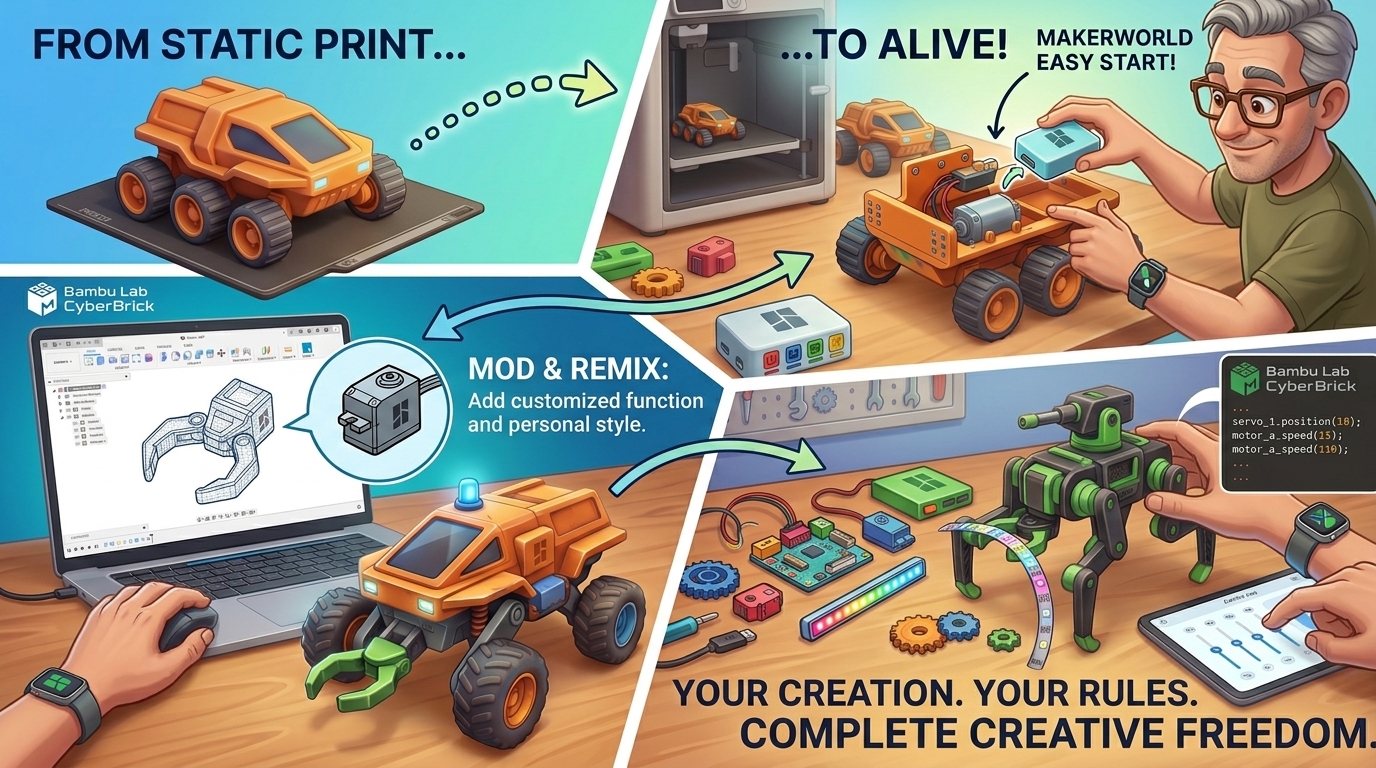
There is an undeniable, magic moment in 3D printing. It’s that second when you peel a freshly finished print off the build plate, pop out the supports, and hold a physical object that was just a digital file an hour ago. For years, MakerWorld has been filled with brilliant static models articulated dragons, desk organizers, wall art, and scale display cars.
But eventually, every maker looks at a sleek 3D-printed sports car or a detailed mini-crane and thinks: “I wish this actually moved.”
Historically, bridging the gap between 3D printing and electronics was a wall of frustration. You had to strip tiny wires, burn your fingers with a soldering iron, decipher cryptic Arduino error codes, and spend three days troubleshooting why a single LED wouldn’t light up.
Enter Bambu Lab’s CyberBrick system.
CyberBrick changes everything. It is a plug-and-play, solderless ecosystem designed specifically to bring 3D prints to life with motors, wireless microcontrollers, servos, and sensors. It takes the steep learning curve of robotics and flattens it into a creative playground.
If you’ve been looking for a way to level up your maker journey, here is how starting with CyberBrick evolves from downloading a quick weekend project to designing your very own custom animated gadgets.
Stage 1: The Instant Gratification of MakerWorld Ready-to-Print Models
The beauty of the Bambu Lab ecosystem is how friction-free it is. You don’t need a degree in electrical engineering to get your feet wet.
To start, you head over to MakerWorld and filter for CyberBrick-compatible models. The library is overflowing with incredible community designs:
- Off-Road RC Buggies and Drift Cars: Fully functional remote-controlled vehicles that print in a handful of hours.MakerWorld
- Desktop Industrial Equipment: Mini forklifts, scissor lifts, and container cranes with working winches.MakerWorld
- Interactive Props: Dynamic neon light displays, motorized train dioramas, and automated desk bots.MakerWorld
THE CYBERBRICK ON-RAMP

[ Stage 1: Download ] ➔  Print & snap together pre-made
                           MakerWorld community builds.

[ Stage 2: Remix ]    ➔  Modify existing CAD meshes to
                           add personal style & function.

[ Stage 3: Invent ]   ➔  Design scratch-built electronics
                           projects powered by CyberBrick.
When you download a CyberBrick model, the experience feels like high-tech LEGO. The prints are designed with precise snap-fit compartments engineered specifically for the CyberBrick modules. You snap in the small drive motors, click the wireless receiver module into place, plug in the battery harness using push-fit connectors, and press power.
Without touching a soldering iron or writing a single line of code, you can use the CyberBrick mobile app or a printed hardware remote to steer an RC car around your living room. It’s instant, deeply satisfying gratification.
Stage 2: The “What If?” Phase — Modding and Remixing
Once you’ve built a couple of stock models from MakerWorld, a subtle shift happens in your brain. You stop viewing 3D models as finished products and start seeing them as blank canvases.
This is where the real fun begins: The Remix Phase.
Maybe you printed a stock 1:24 scale CyberBrick RC tractor, but you think it looks a little plain. You open up your CAD program of choice whether that’s Tinkercad, Fusion 360, or OnShape and import the model’s STEP or STL files.
Suddenly, you’re playing designer:
- You add mount points on the roof for a dual-LED flashing light bar.MakerWorld
- You tweak the wheel wells to fit wider, high-traction TPU-printed tires.MakerWorld
- You design a custom tow hitch on the back so it can haul a motorized trailer powered by a secondary CyberBrick servo module.MakerWorld
Modding existing models is the perfect bridge into custom engineering. Because the base geometry for the CyberBrick electronic housing is already proven to work, you don’t have to worry about whether the motor will fit. You get to focus purely on aesthetics, mechanical add-ons, and personal flair.
When you slice that remixed file, print it in a custom colorway, and see your personal design modifications operating in real-time, the hobby transforms from simple consumption to true creation.
Stage 3: Total Creative Freedom — Designing from Scratch
Eventually, you will hit a point where you have an idea so specific that it doesn’t exist on MakerWorld yet. You want to build a motorized cat toy that reacts to motion, an automated blinds opener for your home, a desktop kinetic sculpture, or a customized battle-bot.
This is the ultimate destination of the CyberBrick journey: Designing your own original electronics-integrated hardware from the ground up.
Bambu Lab supports this by providing open design specifications, component CAD reference models, and standard housing specs for the CyberBrick system. You can drop precise 3D reference models of the CyberBrick microcontrollers, servos, battery packs, and gearboxes directly into your CAD workspace.
The CyberBrick Modular Advantage
When designing custom projects, CyberBrick gives you a massive advantage over standard electronic components:
| Feature | Traditional Electronics | CyberBrick Ecosystem |
|---|---|---|
| Wiring & Connections | Loose jumper wires, breadboards, exposed solder joints | Keyed, snap-in modular connectors & uniform form factor |
| Form Factor | Irregular board shapes with awkward mounting holes | Standardized reference CAD blocks designed for 3D print tolerances |
| Control Logic | Complex C++ environment configuration & manual driver setup | Dual-layer setup: App-based drag-and-drop config or MicroPython |
| Enclosure Design | Frustrating measurement of tiny chips and pin headers | Drop in pre-made negative CAD volumes to create instant mounting bays |
Because Bambu Lab provides the exact “negative volumes” for their modules, you can design any custom shell, use a Boolean subtract command in your CAD software, and instantly create a perfect, press-fit slot for your battery, motor, or mainboard.
The Joy of the Dual-Layer Coding Environment
For creators who want to push their custom designs beyond basic remote control, CyberBrick offers a dual-level software architecture that grows with your skills:
- App-Based Configuration: Perfect for mechanical gadgets and standard RC setups. You can map buttons, adjust servo limits, and configure motor directions directly on your phone interface without touching code.MakerWorld
- MicroPython Programming: When you want your creation to be truly smart, you can hook the CyberBrick system up to a computer and write light MicroPython scripts. You can program automated loops, read custom sensor data, create complex movement sequences, or integrate lighting patterns.MakerWorld
Why CyberBrick is the Ultimate Gateway for Makers
3D printing gives us the power to manufacture almost any shape we can imagine. But static objects can only take our imagination so far.
By pairing 3D printing with Bambu Lab’s CyberBrick ecosystem, you aren’t just printing objects anymore—you are engineering interactive, living machines. You start by printing someone else’s awesome RC buggy from MakerWorld on a Friday night. By next month, you’re editing CAD files to add custom utility attachments. And six months from now, you’re uploading your very own original, fully animated robotics creation back onto MakerWorld for thousands of other makers to print.
So grab a CyberBrick starter kit, browse MakerWorld for a model that catches your eye, and get ready to bring your 3D printer to life.